Important NoteThis entire repo was AI created - including all of the data within. The intent was to A) help me with my personal electronics inventory; and B) see how I could use AI to make that process a bit easier. DO NOT TRUST!
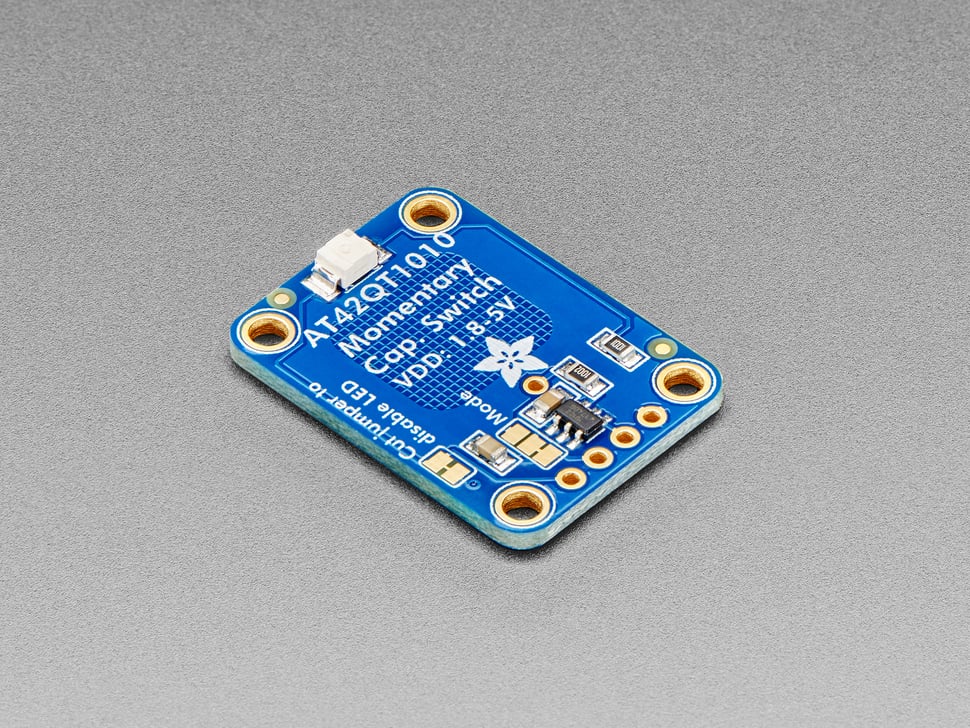
Adafruit AT42QT1010 Capacitive Touch Sensors
Details
- Location: Cabinet-5, Bin 12 (Section B: 3 units)
- Category: Sensors
- Brand: Adafruit Industries
- Part Number: 1374
- Model: AT42QT1010
- Package: Breakout Board
- Quantity: 3 total
- Status: Available
- Price Range: $5.95 each
- Product URL: https://www.adafruit.com/product/1374
Description
The Adafruit AT42QT1010 is a standalone momentary capacitive touch sensor breakout that requires no microcontroller. Simply power it with 1.8V to 5.5V DC and touch the sensor pad to activate the output. When a capacitive load is detected, the red LED lights up and the output pin goes high. This makes it perfect for simple touch-activated projects where you need a reliable, low-power touch sensor.
Specifications
Electrical Characteristics
- Supply Voltage: 1.8V to 5.5V DC
- Current Consumption: 0.5mA (fast mode) / 50µA (low power mode)
- Output Type: Digital (high when touched, low when not touched)
- Output Voltage: Same as supply voltage
- Touch Sensitivity: Adjustable via built-in calibration
- Response Time: <100ms (fast mode) / <200ms (low power mode)
Physical Characteristics
- Board Dimensions: 20mm x 28mm (0.8” x 1.1”)
- Weight: 1.87g
- Touch Pad: Built-in capacitive sensing area
- LED Indicator: Red LED shows touch status
- Mounting: 0.1” header holes for breadboard use
- Operating Temperature: -40°C to +85°C
Touch Sensor Features
- Capacitive Sensing: Detects human touch through dielectric changes
- Built-in Calibration: Automatically adjusts sensitivity
- Noise Immunity: Resistant to electrical noise and interference
- No Mechanical Wear: Solid-state operation with no moving parts
- Custom Touch Pads: Wire connection point for external touch surfaces
Image
Applications
Common use cases and applications for these touch sensors:
- Interactive Projects: Touch-activated lights, sounds, or displays
- User Interfaces: Simple touch buttons for control panels
- Art Installations: Touch-sensitive interactive art pieces
- Educational Projects: Demonstrating capacitive sensing principles
- Accessibility Devices: Large touch-sensitive activation areas
- Security Systems: Touch-activated alarms or access controls
- Wearable Electronics: Touch controls for clothing or accessories
- Home Automation: Touch switches for lights and appliances
- Musical Instruments: Touch-sensitive controllers and interfaces
- Prototype Development: Quick touch sensing for proof-of-concept projects
Wiring and Connections
Pin Configuration
- VDD: Power supply (1.8V to 5.5V)
- GND: Ground connection
- OUT: Digital output (high when touched)
- PAD: Connection point for external touch surface
- LED: Built-in indicator LED (can be disconnected)
Basic Wiring
VDD  → Power supply positive
GND  → Power supply ground
OUT  → Input to microcontroller or load
PAD  → External touch surface (optional)
Power Management
Power Modes
- Fast Mode: 0.5mA consumption, faster response time
- Low Power Mode: 50µA consumption, slower response time
- Mode Selection: Jumper on board allows mode switching
Power Optimization
- LED can be disconnected to save power
- Low power mode suitable for battery-powered applications
- Sleep mode available when not in use
Custom Touch Surfaces
External Touch Pads
- Solder wire to center PAD connection
- Use copper foil, conductive fabric, or metal objects
- Touch surface size affects sensitivity
- Larger surfaces = more sensitive detection
Touch Surface Materials
- Copper Foil: Excellent conductivity and adhesion
- Conductive Fabric: Flexible and wearable applications
- Metal Objects: Everyday items as touch sensors
- Conductive Paint: Custom shapes and designs
Technical Notes
Important considerations for touch sensor usage:
- Automatic calibration occurs on power-up
- Sensitivity adjusts to environmental conditions
- Works through thin non-conductive materials
- Avoid placing near strong electromagnetic fields
- Ground plane improves noise immunity
- Response time varies with power mode selection
Integration Examples
Arduino Integration
int touchPin = 2;
int ledPin = 13;

void setup() {
  pinMode(touchPin, INPUT);
  pinMode(ledPin, OUTPUT);
}

void loop() {
  if (digitalRead(touchPin) == HIGH) {
    digitalWrite(ledPin, HIGH);
  } else {
    digitalWrite(ledPin, LOW);
  }
}
Raspberry Pi Integration
- Connect OUT pin to GPIO input
- Use pull-down resistor for clean signals
- Monitor pin state changes for touch detection
Troubleshooting
Common Issues
- No Response: Check power supply voltage and connections
- False Triggers: Reduce sensitivity or improve grounding
- Slow Response: Switch to fast mode if using low power mode
- Inconsistent Operation: Ensure stable power supply
Calibration
- Sensor auto-calibrates on power-up
- Avoid touching during initial power-on
- Recalibration occurs periodically during operation
Tags
adafruit, at42qt1010, capacitive-touch, touch-sensor, breakout, momentary, standalone cabinet-5 bin-12 status-available
Notes
These Adafruit AT42QT1010 touch sensors are excellent for adding simple touch control to projects without requiring a microcontroller. The standalone operation makes them perfect for beginners and quick prototypes. The built-in LED provides immediate visual feedback, and the ability to connect external touch surfaces adds flexibility. Power management features make them suitable for both mains-powered and battery-operated applications. Quality Adafruit construction ensures reliable operation and good documentation support.